
")
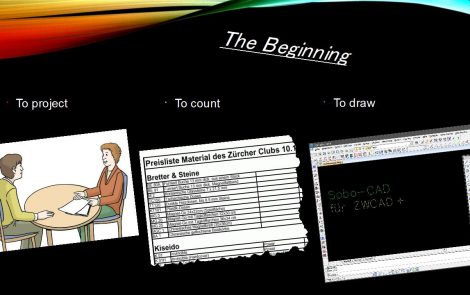
The high-school graduates from the TI are busy with their final works – on one hand, they have to realize a concrete project in the workshops and on the other hand, they shall write an exposition about the ongoing process of their work. They summarized and presented their result in English. Here you find some really interesting examples…
At home, we wanted to have a new TV board in the living room. That’s why I have chosen this subject to realize my final work project.
In the first step, I will explain the preparation, in the second the manufacturing of the board and finally, I will present the written document.
The first step:
In our living room, we have actually all furniture in oak wood. My parents want to renew the room with a new TV board in the same wood type. They asked me if I could make this board at school as my final work. It has 2 drawers and a door with a glass plate as a filling. Inside, it is with 2 glass shelves with a LED bar behind. The board’s usage is to store collectibles and folders. In the drawers, there are CD´s and magazines. The TV hangs over the board. It is in an L-shape and oiled at the end.
The second step:
In order to know how much wood I needed, I prepared a list of materials. After that, I drew the TV board on the computer and bought all the other workpieces.
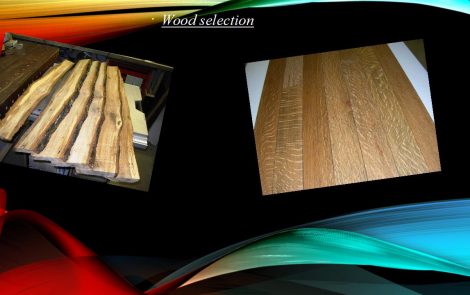
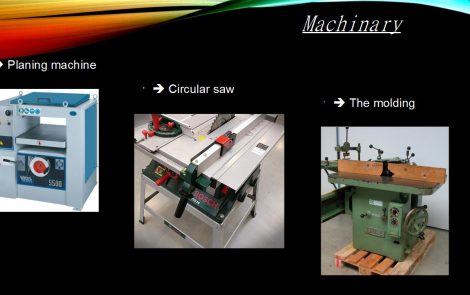
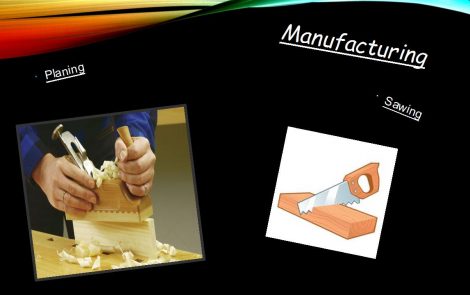
As a preparation, I made a wood selection to obtain a nice view of the board. Then I started to trim and join the wood. I sawed everything to length and milled the shaped springs. Then I glued and sanded the little wood pieces together. After doing so, I glued the complete board and removed the remaining glue. I drilled the holes for my glass shelves. Then I plastered everything and oiled the final work. After oiling, I put the cupboard on a support to avoid damages.
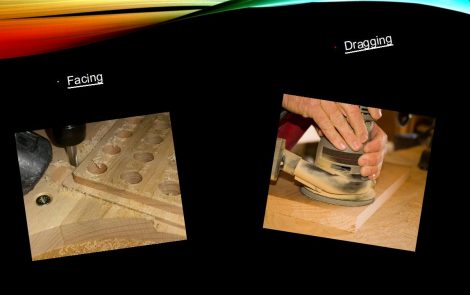
Then I started with the drawers. I sawed the wood to length and planed the boards to thickness. We have decided to make finger prongs in the drawers. That’s why I set then the table mill for the finger tines to milling. I have 2 drawers of the same size. This makes it possible to mill all the finger tines together. But first I make a test piece not to mess up my final work. When I finished this, I plastered the inside to avoid scratches after gluing. All scratches must be removed before gluing the drawers. Then I sanded the outside and milled the bottom groove on the table miller.
I sawed the back of the TV board and the 2 fillings from a large slab. Then I put the filling in the groove. When the bottom was in the drawers, I oiled the two drawers twice.
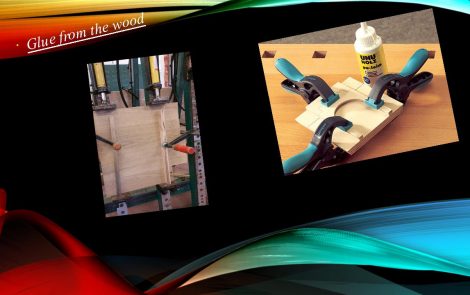
Finally, I sawed the timbers for the door. I planed the door for thickness and width, and after that, I made the fold for the glass with the mill. Then I chiselled out the corners and glued the ribbon. I sawed the glazing beads from the rest of the wood to use the same wood. Then I drilled the holes in the glazing beads and bolted them to the door. Then I milled the pot drill into the door to hang it on the board.
At the end, I sanded the door and oiled them twice. After that, I screwed the drawer guides to the carcass and inserted the drawers. I glued the LED strip on my back and put the glass shelves on the top. Then I clipped the door on the carcass and finished my furniture.
The final step:
The objective for the final work is not only to make a practical work, but also a written document. In the written part, I describe the material list, the cost calculation and I put all drawings of the TV board. Part of the explanation are as well all the work steps and the used machines. Finally, I write words of thanks to my parents and teachers.
Gary (6HT)