The high-school graduates from the TI are busy with their final works – on one hand, they have to realize a concrete project in the workshops and on the other hand, they shall write an exposition about the ongoing process of their work. They summarized and presented their result in English. Here you find some really interesting examples…
Plan:
The robot came in a kit with a manual. So the plan was to assembly, program and modify it.
The first stage was the assembling and the calibration. The second was the modification of the power supply and research to the programming.
Stage 1:
First I made sure that all the pieces are there. Then I assembled the remote control and started to mount the little pieces into bigger ones, for example I mounted the servos to the acrylic parts to get let-parts and joints out of it. The first problem appeared during the assembly because in the manual was written not to tighten the screws too strong but in my case it was to loose so I tightened it so strong that the screw’s head broke off and the rest of the screw stuck in the servo. It happened twice so I had to contact the support to get two new servos. After they were been delivered I fully assembled the robot. Then I had to calibrate the robot. The calibration is a process where the Robot gets to know itself, its form and how it actually can move. I made some mistakes during the assembly, so the configuration failed and I had to disassemble and reassemble it the proper way. The situation hasn’t changed since because I couldn’t get a proper calibration done, although I disassembled and reassembled it a few times.
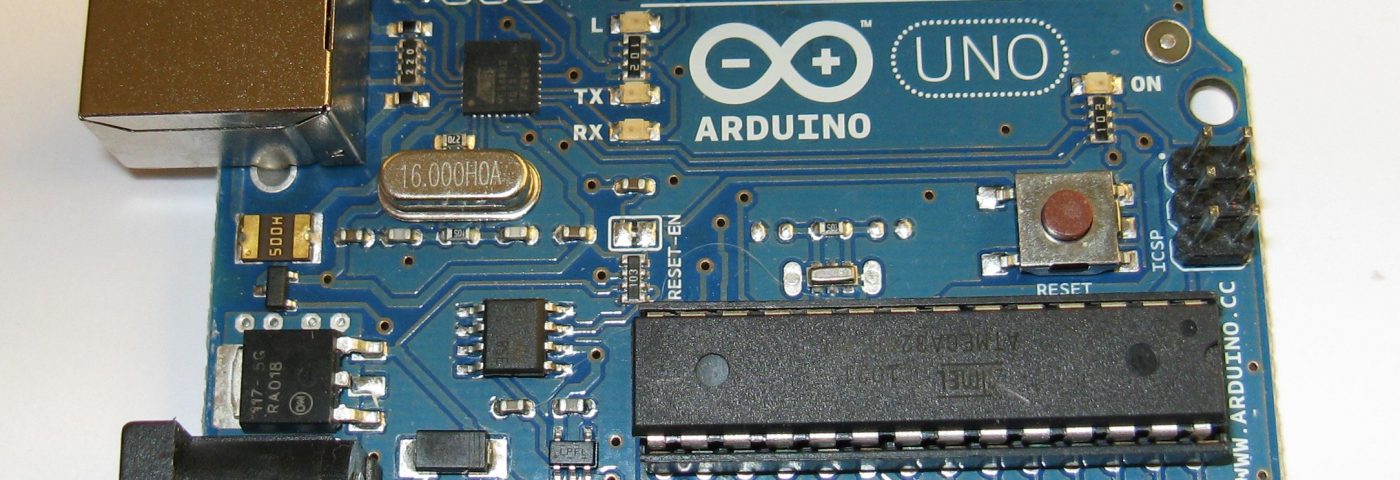
During the assembly I also tested successfully the remote control with the downloadable program. To do so I had to install the Arduino IDE (integrated development environment), a program where I can write programs in, compile them, which means to translate it into mechanical language, and upload them into a device which would execute these programs as my robot.
Stage 2:
The second stage was mainly the modification of the power supply. But it is risky because if I make a mistake, the robot or the power supply will be damaged and in the worst case I won’t be able to program anything. Because of this risk, I rescheduled the modifying in the end, so if I make a mistake, it would be clear what caused the damage and even if the robot brake, I could still get my technical qualification. I researched how it would be possible to realize it and made a sketch. The research for the programming went well and I discovered that I could access a lot of different programs which is a help but lowers the project’s difficulty. So I had some thoughts on more modification. I could install a sensor to it so it stops before obstacles and I thought about making plans for a 3D-printer to print the robot a headgear and some shoes. The headgear would be there only for visual purposes and the shoes to give the robot grip on slippery grounds.
Klaudia, 6IT


